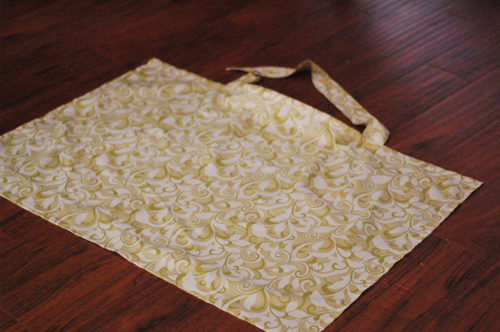
I love my nursing cover. I nursed both of my girls for 15 months and my cover gave me the confidence to be out in public and nurse a baby without fiddling with a blanket tthat can easily fall off. I found out about nursing covers with the birth of my first daughter. It looked simple enough to make but I needed a closer look (and correct dimensions). So I broke down and bought one (if you know me, I’m pretty frugal and usually wouldn’t shell out close to $40 for one of these). So I inspected it thoroughly and came up with a pattern/measurements to make one.
I’ve been making nursing covers for all my friends and family who are pregnant and plan to nurse (even if they don’t nurse, it’s a great thing to have to give the baby shade/wind protection). I use a good-quality cotton fabric because it’s lightweight, washable and breathable. I usually get my fabric from a quilting store since they are of better quality than the larger fabric stores (No offense, JoAnn. I love your store for other things, especially the 40% off coupons). I don’t pre-wash the fabric. I’ve been told that if you’re using good-quality cotton, shrinkage is not much of an issue. But if you’re unsure about the fabric quality, I’d probably wash it just to make sure the final product won’t shrink too much.
This method uses quilting rulers and rotary cutters. You can do without these tools, just make sure you have a straight-edge ruler and something to mark your fabric (fabric chalk, water-soluble pencil, or a regular pencil) so you can cut along the lines. That’s how I did it before I invested in a cutting mat, rotary cutter and cutting ruler (if you’re going to sew a lot, these tools are quite valuable and make cutting go a lot faster).
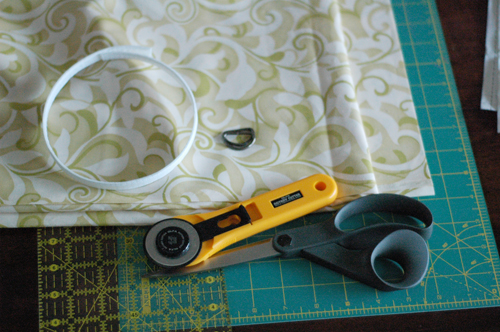
For this project you will need:
- 1-1/4 yards of fabric
- 2 – 1 inch D-rings
- 15 inches of 1/2 inch covered boning
You can get the D-rings and boning in the notions department of a fabric store or even at Wal-Mart in the sewing section.
Helpful tools:
- Cutting Mat
- Fabric Chalk or Water-Soluble Pencil/Marker or a Regular Pencil
- Rotary Cutter
- Good Scissors
- Sewing Guage
- Cutting/Quilting Ruler
QUICK REFERENCE TO FABRIC GRAIN:
I recently attended my friend’s sewing class and realized that a lot of people don’t understand fabric grain and fabric terms – even to this day I get confused. I will be referencing some of the items below. So here’s a quick rundown.
- SELVAGES: The “edges” of the fabric. They don’t fray and they’re usually a tighter weave or even a different texture than the rest of the fabric. They’re meant to hold the fabric on the loom and “act differently” than the rest of the fabric – that’s why we don’t use it under normal circumstances.
- CROSSWISE GRAIN (or cross grain): The grains that run perpendicular to the selvage.
- LENGTHWISE GRAIN: The grains that run the length of the fabric. They run parallel to the selvage.
- BIAS: “Cutting on the bias” means that you are cutting diagonally, 45° from the selvage. This creates a very stretchy strip of fabric.
What’s “wrong” and “right”?
The “right” side of the fabric is the side you want to show. It usually has the fabric pattern on it. The “wrong” side is the under-side of the fabric – most of the time it does not show the pattern or shows a faint pattern (there are exceptions to this rule like with homespun fabric).
Got it now? Here are the instructions to make a nursing cover:
Iron your fabric keeping selvages together. Fold it again on the lengthwise grain to make it easier to cut and measure.
Place the folded fabric on the cutting mat with the selvages parallel to you. Straighten out your cutting edge by placing your ruler close to the raw edge of the fabric, aligning the ruler along the fold and making sure all uneven pieces are outside the ruler. Use your rotary cutter to trim the uneven edge along the crosswise grain (If you’re right handed, raw edge is on your right side, if you’re left handed, raw edge is on your left side.) Trim the uneven edge – you now have a straight edge of the fabric!
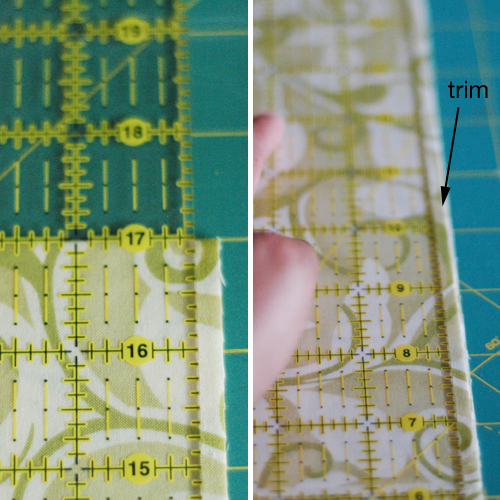
Carefully and gently turn the fabric over so that the new trim is opposite of your cutting hand. From the newly trimmed edge, measure 26 inches and trim. Unfold the 26″ piece once. Measure 19 inches from the remaining fold and trim (trimming off the selvages). In the end you should have a folded piece of fabric that is 19 inches from the fold, and 26 inches from opposite raw edges. Fully open, it should measure 38″x26″. This is the apron part of the cover.
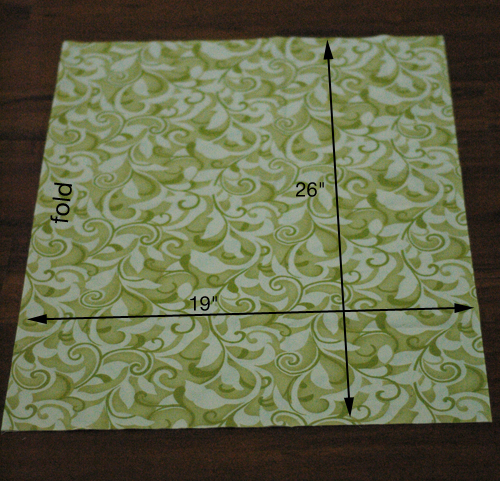
To make the straps, cut a 5″ strip off the remaining fabric on the crosswise grain.
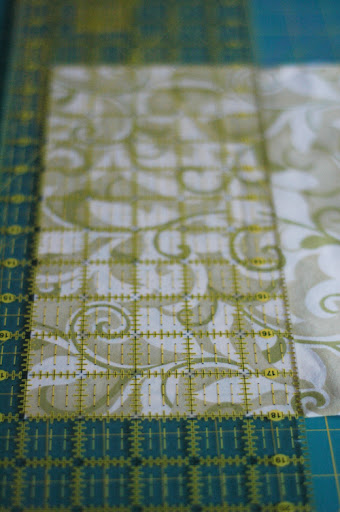
Unfold the 5″ fabric and trim the selvage.
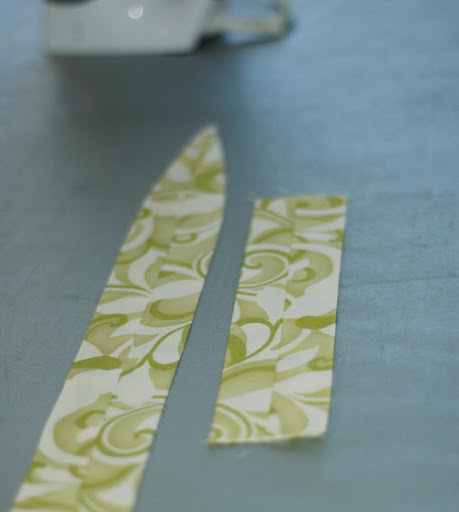
Take the 5″ wide strip of fabric then measure and cut a 26″ piece and a 9″ piece (this will result in a 5″x26″ piece and a 5″x9″ piece). Fold both pieces lengthwise, right sides together.
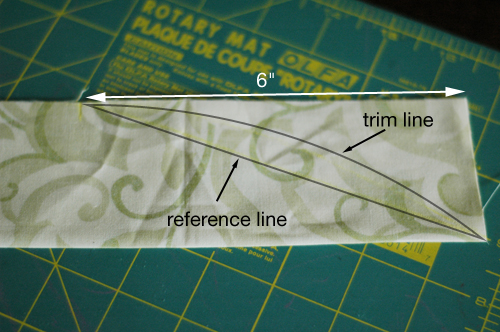
Take the longer folded strap and measure 6″ from the “top edge” of the strap. Mark along the raw edge and draw a line to the opposite corner. This is your reference line. Draw a gentle curve starting from the 6″ mark to top corner (see below).
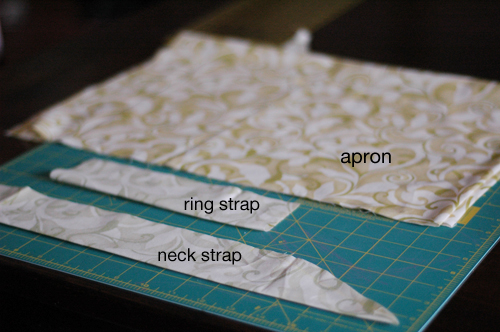
You now have all the fabric pieces to make the apron – the apron, ring strap and the neck strap.
Place the apron piece, right side down. Starting first with the shorter sides (19″ sides) press raw edges 7/8″. Open the fold, then press 3/8″ from the raw edge and fold the hem back. (You can either press it with an iron or finger press with the side your nail like I did.) Do the same along the bottom of the apron, pressing over the folded sides. You should now have 1/2″ folded hems.
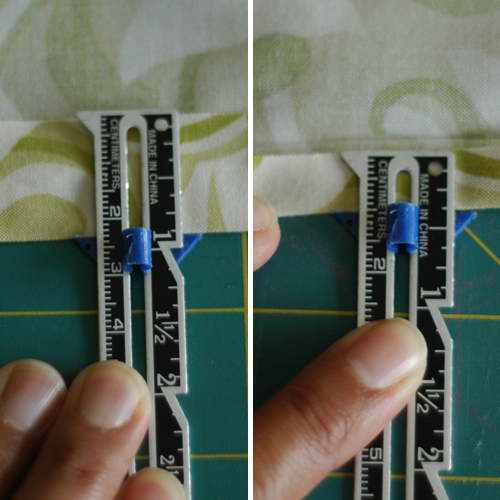
On the top of the apron, using the same method, fold 1-1/4″ from edge. Open the fold and fold 1/2″ from the raw edge. You should now have a 3/4″ hem at the top.
Take the straps and sew a 1/2″ inch seam along the raw edges (right sides still together). Notch the tip and the curve of the neck strap.
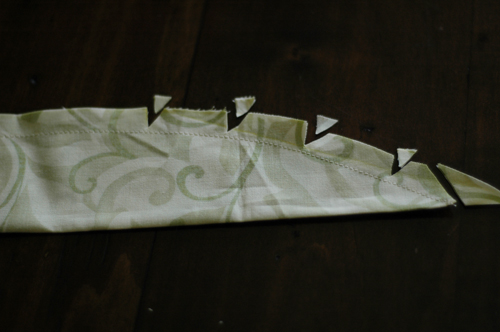
Turn straps inside-out using a chopstick or pencil to make the point of the neck strap. Iron both straps with seams in the center.
Stitch the short sides then the bottom of the apron about 3/8″ from the edge. (Sorry for the fuzzy pic). DO NOT SEW THE TOP YET.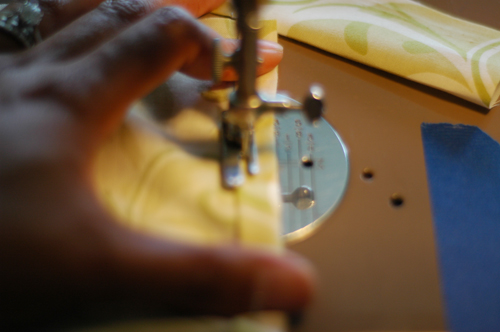
Stitch the straps 1/4″ from the edge.
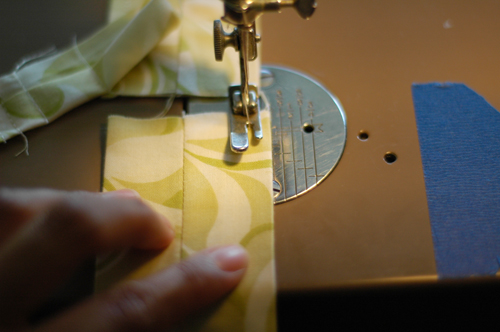
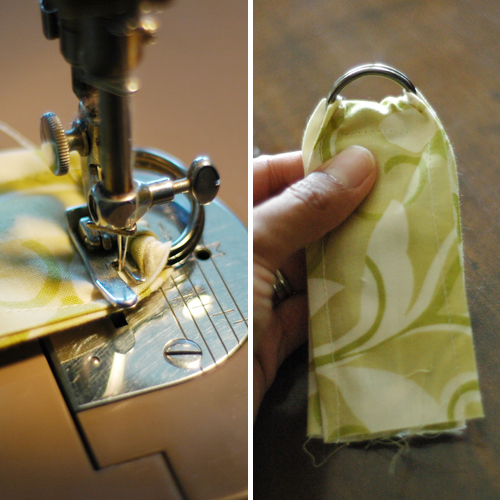
Pull the ring strap through the 2 D-rings with the seam side facing down. You may want to switch to a narrow foot or a zipper foot for the next process. Align the raw edges and backstitch the strap down right under the D-rings (I stitched forward then reverse and then forward again).
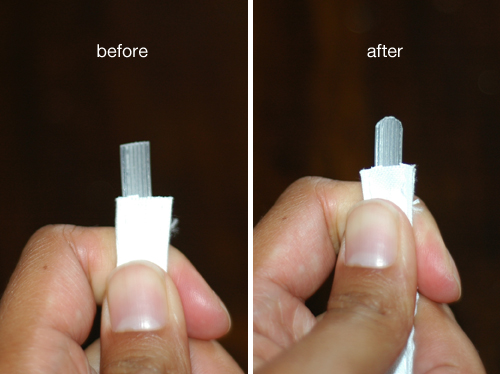
Pull back the fabric covering from the boning. Using scissors, smooth the edges of the boning by rounding off the edges on both sides (this keeps mom and baby from being poked by a sharp edge).
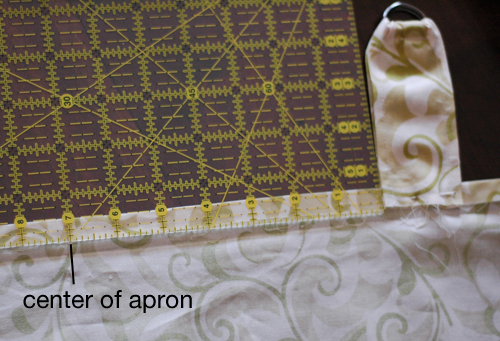
Take the apron and lay it right side down. Find the center of the apron and mark it with a pin. Open the top fold, leaving the 1/2″ fold intact. From the center, measure 7″ to the right and pin the ring strap on the right side, aligning the raw edge with the raw edge of the 1/2 fold.Pin through all layers
Do the same to the other side with the neck strap, measuring 7″ to the left from the center. Pin the neck strap with the seam side up.
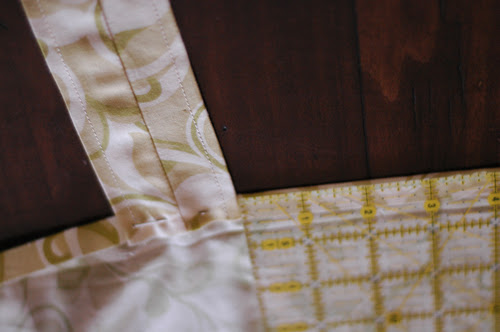
Find the center of the boning and align it to the center of the apron. Fold the hem over and pin through all layers, pinning in the center and just before the straps

Fold the pinned straps over the hem, carefully remove the existing pin (now on the inside of the hem) and re-pin through all layers.
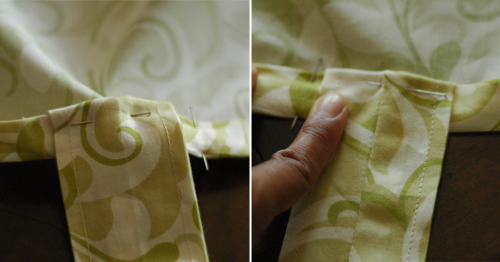
You may need to switch to a heavy-duty or a super sharp needle for this next step. Tack down the boning by sewing on the 1/4″ stitch of the straps that is closest to the center of the apron. You may have to help it along by hand-turning the wheel. Reverse stitch a few times, being careful to land in the same holes in the boning (if you put too many holes in the boning, it will weaken it and snap off).
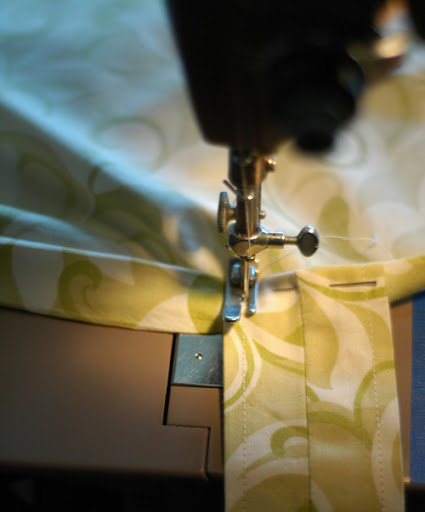
Edgestitch the inside hem (less than 1/8″) sewing over both straps. You will have to use a narrow foot or perhaps a zipper foot. Work carefully around the boning so that you catch all the layers of fabric.
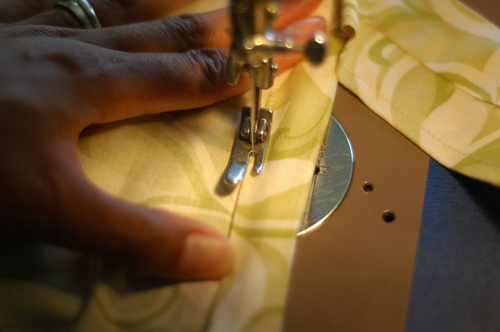
Flip the apron over, right side up, and edgestitch the fold and sew over both straps.
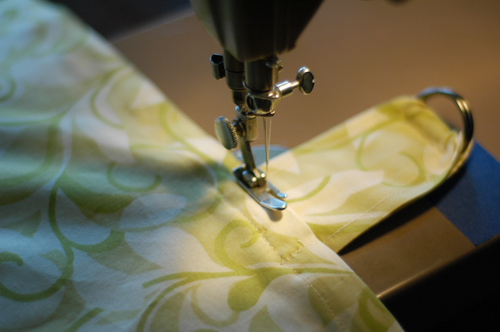
That’s it! The nursing cover is now complete!

I made this one for my sister. She had a baby girl on Sept. 13 and she is just adorable! I’m looking forward to sewing some clothes for my new niece!

Just in time – I’ve been needing a new nursing cover. This looks easy for a beginner seamstress like myself. Thanks for joining in at Teach Me Tuesday!