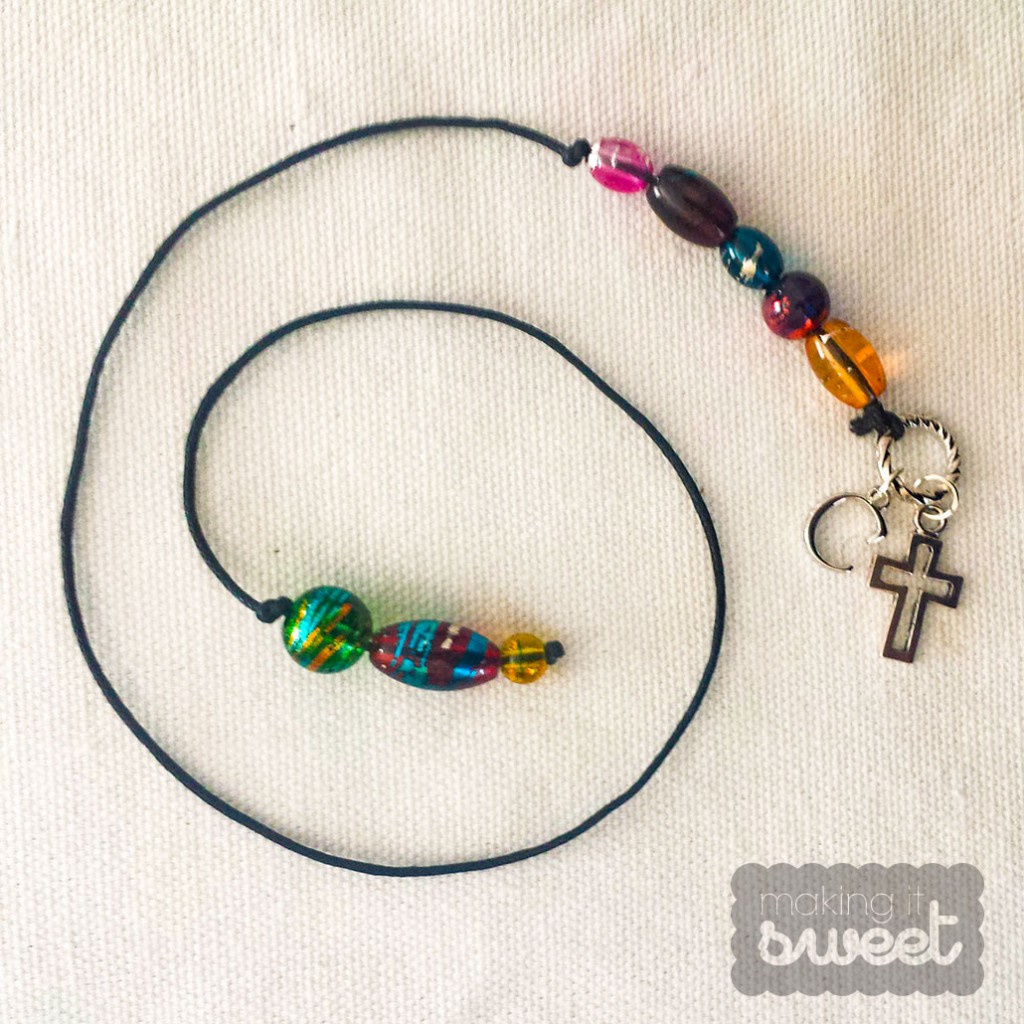
I just got off of another weekend working a spiritual retreat as part of the music team. In preparation for these retreats, volunteers pray for one another and the guests who are making the retreat. Prayer could be in many forms, some people made sacrifices such as giving up french fries for weeks, others offered up Masses and prayers. I used to run a mile for each person making the retreat, but let’s just say that recovering from childbirth was harder the third time around. So instead, I made bookmarks and said a prayer for the person I was making it for.
These bookmarks (or book thongs) were for my music team. Each had a cross and the musician’s initial. I’ve made these bookmarks with kids before and they always look like a piece of jewelry adorning a book. The best part is that they are pretty easy to make with tools you should have around the house.
You can purchase most of these supplies at a craft store. I got the waxed cord and glass beads at Michaels and the charms were from Hobby Lobby. You can certainly purchase all of these in one place — I just had cord and beads laying around from a previous project.
Read on for the full tutorial. I apologize in advance for the fuzzy phone pics. I was working on a wobbly table that the kids were playing under.
For this bookmark you need:
- Waxed Cotton Cord (cut to 18″ per bookmark)
- Beads
- 10mm decorative jump ring
- 2 charms of your choice
- 2 jump rings (if needed for the charms)
- Needle-nosed pliers
- Tacky Glue
- Clear Nail Polish (optional)
1. Attach the charms to the decorative jump ring
Pry open the smaller jump rings with the needle-nosed plier and attach them to the charm and the decorative jump ring. Close the ring using the plier. Do this for both charms.
2. Tie cord to the decorative jump ring
Double-knot the cord after attaching it to the decorative jump ring. Cut off excess string and secure the knot with a little dab of clear nail polish or glue.
3. Stiffen the end of the waxed cord with glue
The holes in the beads that I’ve chosen were pretty small and could only be strung if the end of the cord was stiffened. Dab a small amount of tacky glue at the open end of the cord and spread the glue by pinching the cord with your finger. I put glue on about 1.5 inches at the end.
4. String first set of beads
String about 3 inches of beads on the charm-end of the cord then secure the beads with a knot
5. String end beads
String the last set of beads for the end of the bookmark (about 2 inches of beads) and knot the very end of the cord. Dab nail polish or glue to secure the end.
6. Knot end beads
Once the nail polish is dry, push the beads towards the end and knot the cord to hold the beads in place.
That’s it! You can make a whole bunch of these at one time. I made eight of these in about half an hour. They’re so pretty it will make you want to take your books with you wherever you go!
Let me know if you made these bookmarks in the comments below. If you plan on making these as a gift, consider saying a prayer for the person you’re making them for. Or if prayer is “not your thing” think good thoughts for the person you’re giving it to! They will definitely be made out of love.


I thank you for the instructions. I’m having a wonderful time making these for friends and family.
Definitely making for to add to gifts! Thank you !