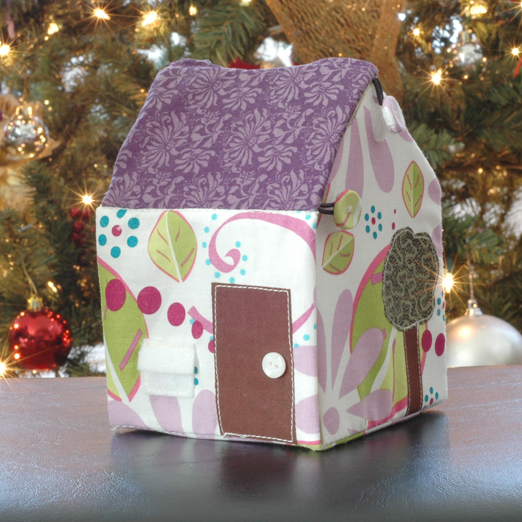
This is a little house.
And in this little house lived a little fabric doll.
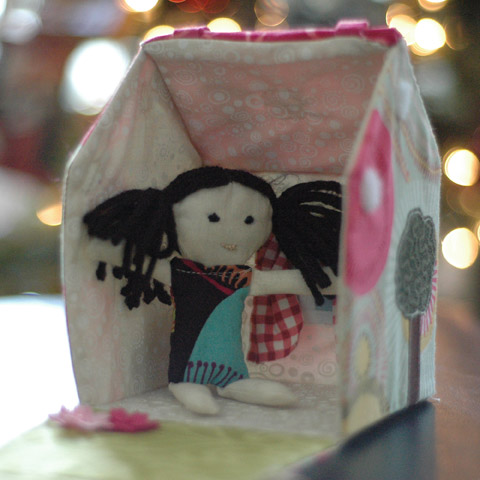
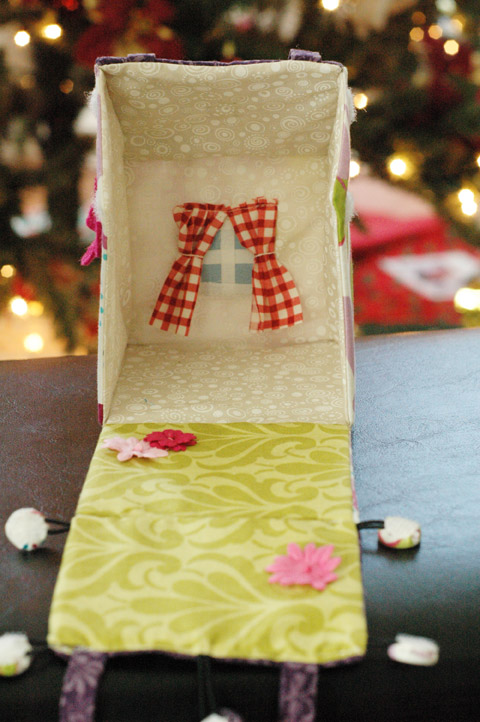
The house had a window and a yard.
The little fabric doll was happy to live in cozy place. She was also happy that she would travel with the little girl who carries the house.
About the house:
In an effort to save money on Christmas gifts this year I decided to put my craft skills to work. That meant using the scraps of fabric and material that I had on hand to make something cute for little kids. While conceiving this project, I had to look back on my past — specifically my grandma Julie.
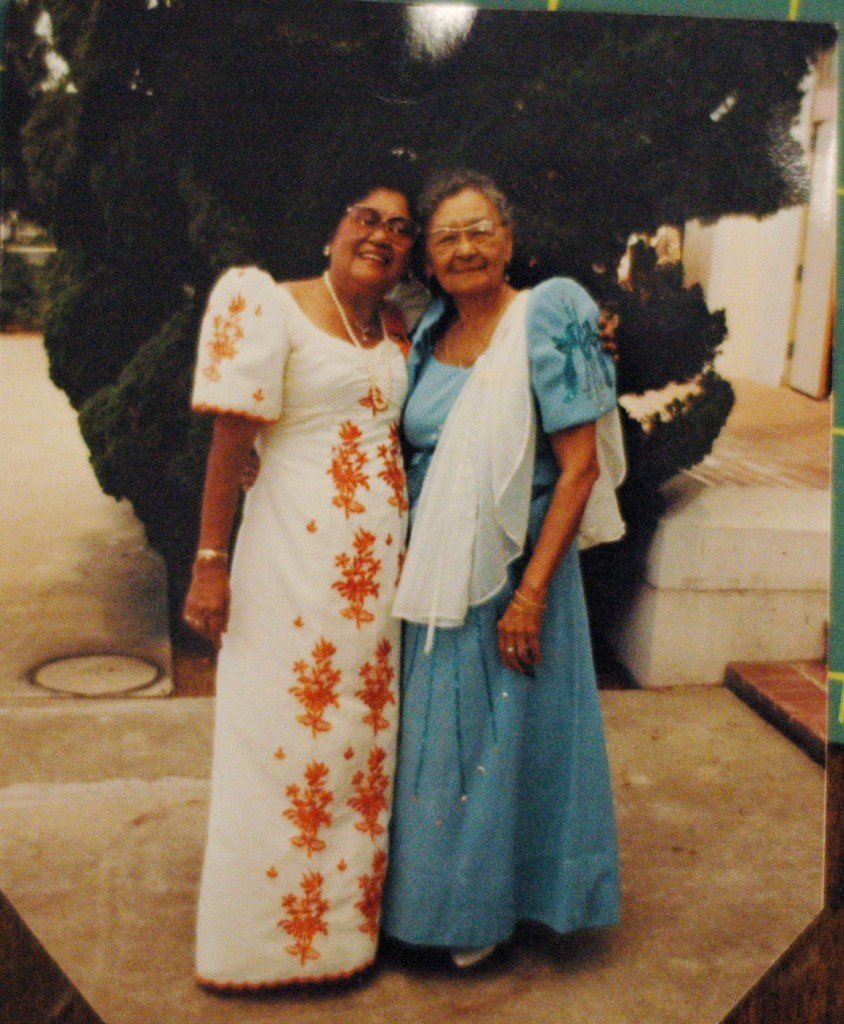
This is my Grandma Julie on the right, in the blue “balintawak” (traditional Filipino dress with butterfly sleeves). Grandma Julie was THE ultimate crafter. Before she passed, her medium of choice was plastic canvas. She would cross-stitch on the canvas and turn it into purses, tissue boxes, flower vase covers, scissor sheaths… pretty much everything she thought she could be used for. I can vividly recall sitting on her floor (which was strewn with yarn and plastic pieces) and cross stitching on plastic canvas to make little “box-birds” for our Christmas tree. She would also ask me to write out words for the “Star Spangled Banner” or draw the bear for the California flag so that she could make it on the canvas.
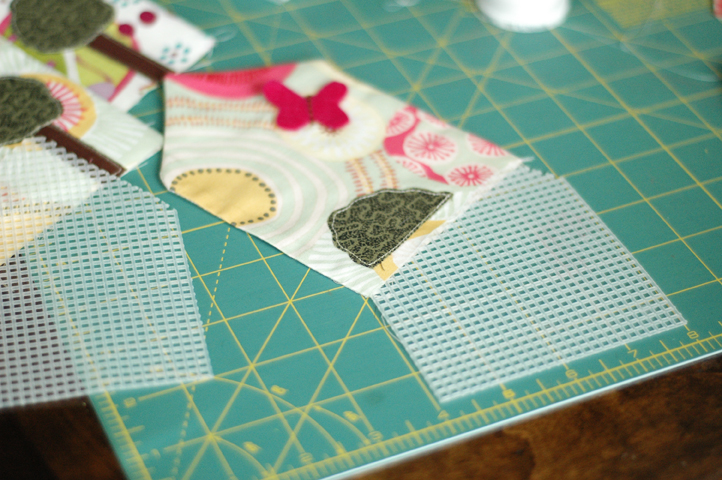
My mom was cleaning out the garage and asked if I could use the “leftovers” of grandma’s crafts. I took it without knowing what I’d do with it and it stayed in my garage for years. When I found this fabric house project online, I immediately knew what I’d do with grandma’s old canvas — I had to give it another life.
Luckily, there were enough scraps that I didn’t have to un-do a lot of her cross-stitching. I had to modify available patterns to size of plastic canvas scraps I that I had on hand. This is why the house is more of a cube — which I realized was a little more difficult to do once I got going.
I cut out fabric and appliquéd trees, bushes, windows and made butterflies. Sewing it together required making “pockets” out of the fabric and inserting the plastic canvas, starting with the sides of the house first.
I won’t go into detail about how I attached it all together. You can find instructions here.
Instead of using buttons and loops to hold the house together, I used velcro but made it appear that it was a button and loop. I only did this because it was going to be given to toddlers that don’t have the dexterity to put it back together.
Everything I used on this project I had on hand (except for the yarn for the doll’s hair). I covered the buttons (they all are mismatched underneath the fabric) and I had velcro and elastic from previous projects. Total cost… $2 (for the yarn). But the effort is priceless 🙂 .
I’m happy that I can make my grandma’s crafts live on — and I’m sure she’s happy that they’re not sitting in a box in a garage. I can now check three gifts off my list. I have to make 5 more gifts by the end of this week — EEK!
Are you making gifts this Christmas? Let me know what you’re making in the comments below!
Also… I’m planning a giveaway once I hit 100 “likes” on my Facebook page! The giveaway will be something hand-made by me! If you haven’t “liked” Making it Sweet, do so by clicking here!


That is such an adorable idea. I might make one to keep at Granny’s house – or maybe two, so dolly can have a holiday home when we visit Granny!
That is darling! Pinning 🙂
–Elena
acasarella.net
Boa tarde amei este trabalho gostaria de visitar o blog obrigado