When I was 7 years old I performed at a Christmas recital at McCrea’s music store in La Mesa, CA. I finished my piano piece and had to wait for all the other instrumentalists to perform before my sister’s turn (on the violin). While we were waiting on the reception couches, I noticed little glittery houses placed throughout the store and imagined myself as a tiny figurine inside of one of them. Some kid told us they had candy inside. Being a greedy little booger, I picked up a house to investigate and accidentally poked a hole through the tissue paper window. My sister and I didn’t want to get in trouble and devised a way we could make it seem less noticeable. We eventually took off all the tissue paper so it looked like it was never meant to have tissue paper inside. Then it didn’t match the other houses. We were tempted to remove all the tissue windows from those houses but for some reason we didn’t. I’m sure it was because most of them were placed where adults were sitting.
Every year they put the houses out, I got quite the guilt trip—even after we stopped taking music lessons there…
Forward to my adult life and having kids: I still longed for the nostalgic feeling that those little glittery glowing houses gave me and wanted my kids to have that sense of wonder, too. A few years ago, I started purchasing Christmas houses in hopes that I’d add to the collection every year. That only lasted two years after considering that I’d be shelling out over $40 per house every year. That’s just one expense among other Christmas expenses that was a little extravagant and unnecessary.
Me being me, I wanted to find an economical way to make those houses. I recalled the houses in the music store being made out of cardboard and were just as charming as the ceramic houses. I did a bit more research and found out that those houses are actually a thing. They were popular in the first half of the 1900s and many are collectible today.
Making the Glitter Houses
This is truly a commitment. I found that there’s no point in gathering all the materials for just one house. It’s more economical to make several houses and have a little bit of a game plan. Here are just a few that I made. I will be posting patterns for all I’ve made on this blog.
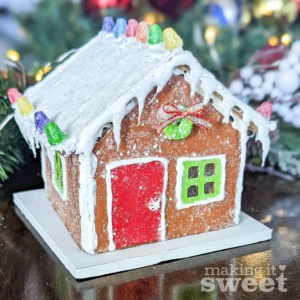
I designed small house patterns in Adobe Illustrator and traced them on cardboard, cut, painted and assembled them. I painted them to look like gingerbread houses since I’ve always wanted to make a little gingerbread village. This method seemed to be the best way to get the best of both worlds — minus the potential varmints that would eat cookies.
Tools/Equipment Needed
If you think this is your call to be crafty and don’t have any tools, then I will warn you that it is a small investment (that can be used over and over again). But if you’ve already dabbled in crafting, you’ll already have a lot of the tools needed for this project. Here’s a list of what you need (linked to my preferred brands):
- Xacto knife
- Replacement blades
- Self-Healing Cutting Mat (or you can use a few layers of cardboard)
- Glue Gun
- Steel Ruler
- Bone Folder (optional)
- 1/2″ flat paint brush
Building Materials
Building materials don’t need to be store-bought. I saved up corrugated cardboard (thanks Amazon Prime) and used the back of an old scrapbook paper pad for some other things. Cereal boxes, shoe boxes — any chipboard-type packaging that’s sturdy would work well here. Craft stores also sell sheets of chipboard if you’re an avid recycler and don’t have anything on hand.
Decorating Houses
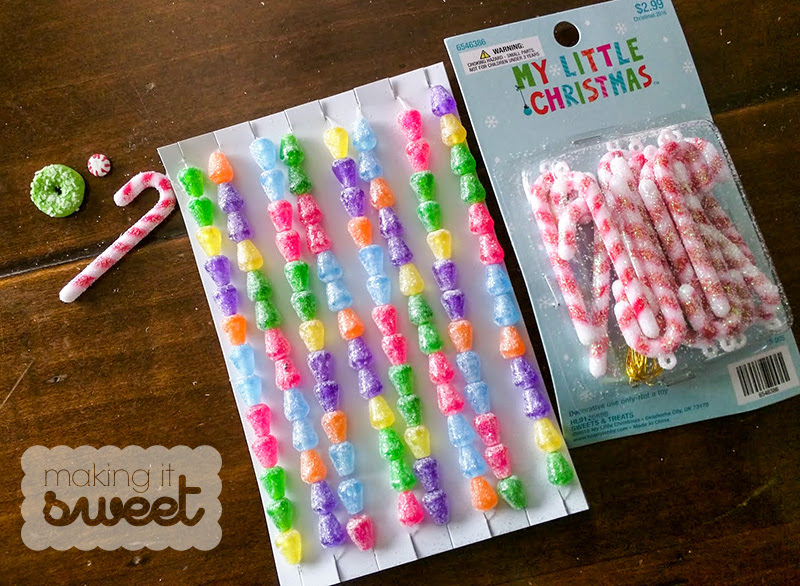
You can get acrylic craft paint inexpensively from WalMart or any craft store. You can stock up on some colors for as little as 79 cents a bottle. You can also get bottle brush trees and other embellishments at the craft stores. Since my houses were supposed to be gingerbread-like, I stocked up on puff paints to make it look like piped royal icing, Crayola Model Magic, Air Dry Paper Modeling Clay (from Daiso Japan), and also bought a few miniature Christmas candy decorations from Hobby Lobby. I had some leftover beads from a previous project that I put to good use. For the windows, I used some tissue/glassine paper that I had on hand.
Finally, you need Mod Podge and glitter. I prefer the regular-sized clear glitter (not fine/superfine) so that the color of the houses can come through and gives it that vintage feel.
General Instructions
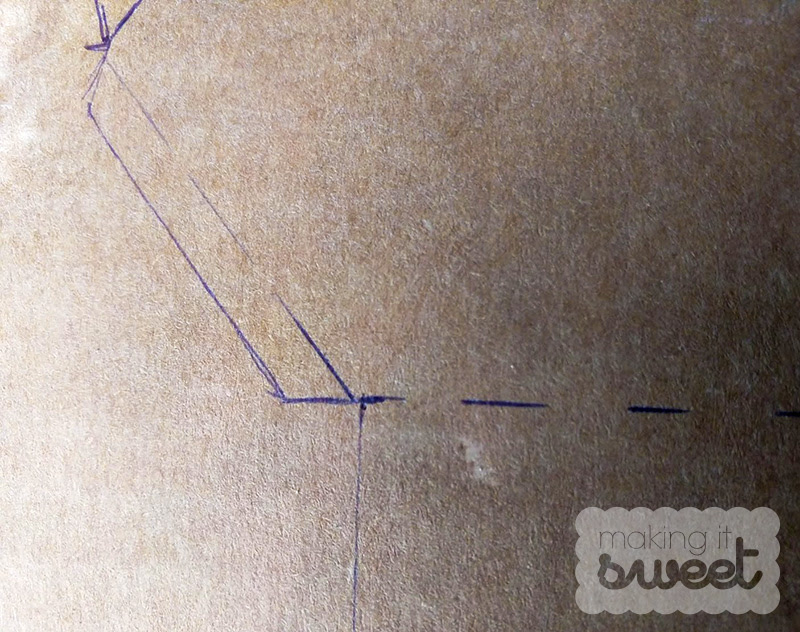
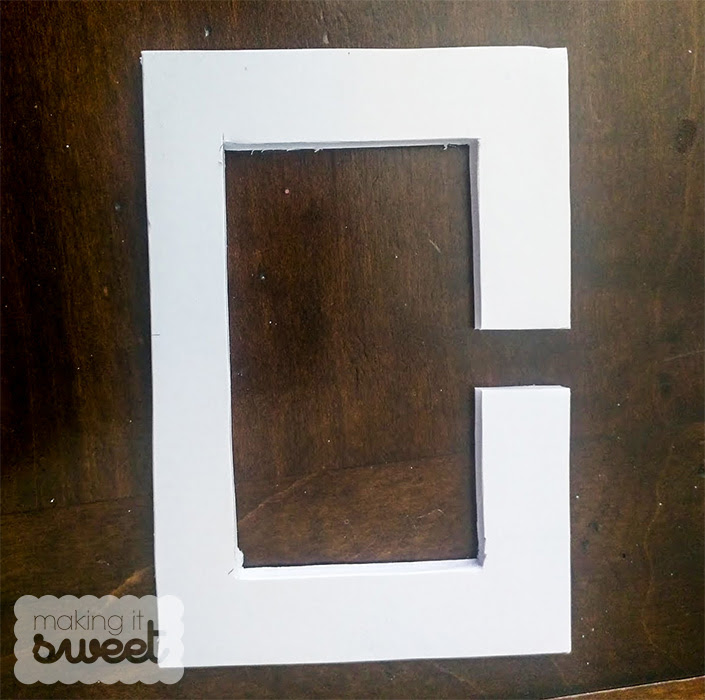
These patterns are my own design and my goal was to make them as intuitive as possible. I printed them out, traced them onto cardboard and made note of the score lines with dashes.
I like to cut freehand using my Xacto knife but if you aren’t confident in your cutting skills, a steel ruler as a guide is very to make a base if you want something more prominent. I just used foam core that was cut about 2 inches larger than the house with the center and a notch in the back cut out for string lights. You can decorate your base with glitter, fences and trees if you choose. I just kept it simple and frankly, was too worn out to make anything more of the base.
The Cottage House:
Purchase and download the pattern here:
The final footprint of this house is 3″ x 3″. I started off simple yet made a few mistakes in my sample (which I fixed in the pattern and subsequent attempts). Since I made the pattern to fit on a letter-sized sheet of paper, you will need to connect the pattern in some places so that you can get a continuous cut. You can also leave it as is if your material isn’t long enough to fit the connected pattern, just make sure to cut out the extra tab for attaching to the adjoining wall if using chipboard. The asterisk (*) on the patterns will show where to remove the tabs for corrugated cardboard and I’ve indicated where to trim the edge if you’re using corrugated cardboard.
Paint / decorate all pieces and glue on the door and window frames before assembling.
Assemble walls according to the instructions then attach the roof, centering the roof over the walls of the house. Make sure that the walls are pretty square before attaching the roof otherwise your house will be a bit askew (like some of mine). You can use the help of some canned food or jars to keep the walls in place while you attach the roof.
Have fun making glitter / putz houses! Let me know if you made this and what you think of the pattern!
Disclosure: This post contains affiliate links in which I make a tiny commission to help me with expenses in running this blog.