Sorry for the delay in posting. A LOT goes on in October and November. I had a post ready for early-November but got side-tracked and now the post is irrelevant to the season. So, one day after the winter solstice, I will give you a more season-appropriate post!
It doesn’t snow here in San Diego (proper). The only time I get to be in the snow is by taking a 30-minute drive to the mountains to our East, in winter time, after it rains, AND if it’s a “cold” rain. So that happens maybe once a year. In high school, I remember going to the mountains to play in the snow with my friend, Phuong, and her sister. Being native San Diegans, we didn’t have snow gear and weren’t prepared at all. Needless to say, after about an hour we were freezing and wet and decided to head back down the mountain to warm up… at the beach… where we stopped in a little Mexican restaurant and had our carne asada burritos. Ah, the life. You wish you were here now, don’t you?
Today marks the 6th straight day of rain in San Diego. Appropriately, I’ve prepared something cold-weather (ish)… snowflakes! BORAX snowflakes.
What’s that you say?
Yes, Borax – and the snowflakes are pretty and amazingly easy to make.
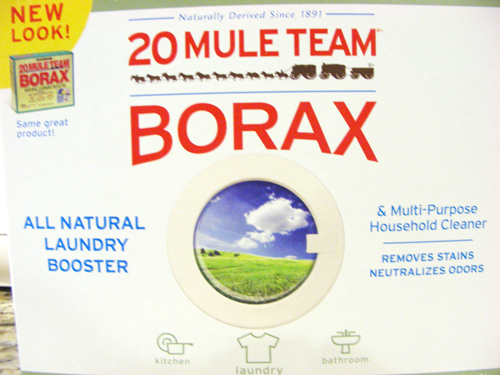
What is Borax? I’ve heard of it but I haven’t really used it before. It’s used as a detergent. It’s a naturally occurring mineral and it is mined. The brand I used is “20-Mule Team” (in 1891, a team of 20-mules were used to haul 9-tons of borax across Death Valley, CA – you can Google the rest of the story).
Okay, on to the tutorial.
MATERIALS:
- Borax
- Pipe Cleaners
- Pencils or skewers
- A wide-mouth jar or large container (something that can handle boiling water)
- Boiling water
- String/twine
DIRECTIONS:
Measure the diameter or width of your container. Cut the pipe cleaners to about 1/2 inch to 1 inch less than the diameter (or if you used a big container like I did, you can make a few snowflakes fit in there). Bend and form 3 pieces together at the center to form snowflakes. Tie a string to the top of the snowflakes and suspend it in the container from a skewer, making sure that the pipe cleaners do not touch the sides or bottom of the container.
Dissolve Borax in boiling water. You will need 3 tablespoons of Borax to one cup of water (measure what’s appropriate for your container). Pour the solution in your jar/container and wait a few hours for the crystals to form. I did it overnight. Now you have a pretty snowflake!
Hanging Pipe Cleaners in the container:
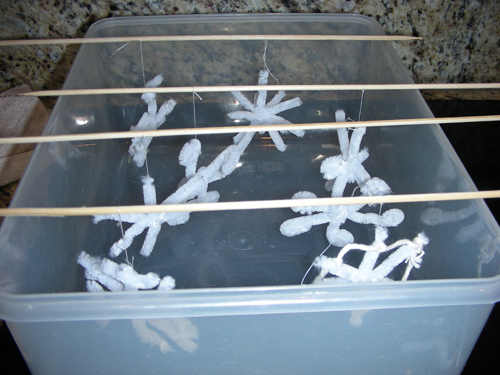
This was taken right after the container was filled with the Borax solution:
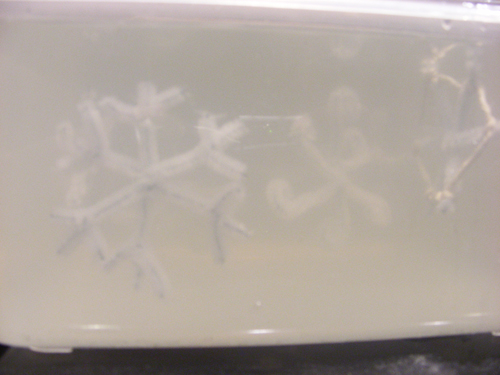
This is 2 hours after it was filled:
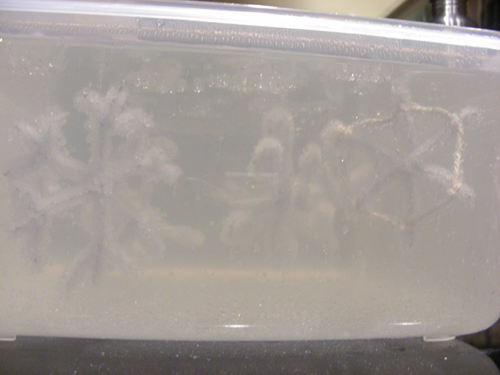 See the crystals forming?
Draining the snowflakes after an overnight dip:
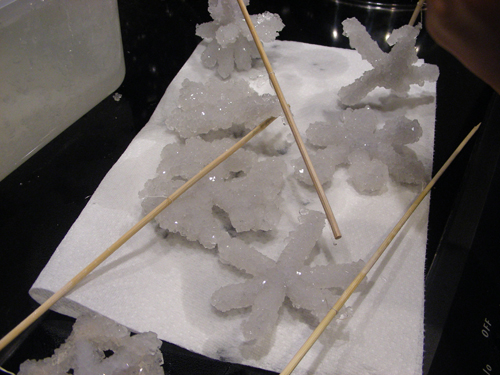
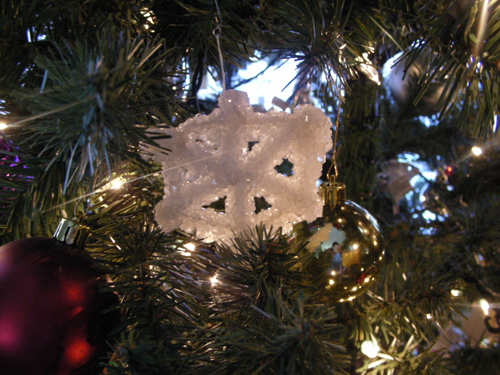
All done! It looks so fancy! I strung some twine between the pipe cleaners on this one.

Here’s a better view of the crystals:
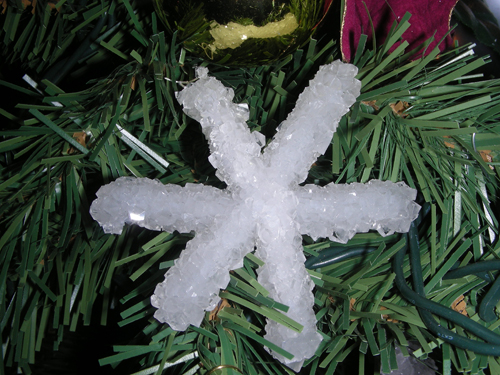
Now go get some pipe cleaners and Borax and make these! My 6-year old helped make a few snowflakes. They were quite charming with their “curly” ends.
